
Hong Kong Museum of Art: Free Ground-Floor Art and the 3/F Harbour Windows
Start outside Hong Kong Museum of Art (香港藝術館 / HKMoA), 10 Salisbury Road, Tsim Sha Tsui. This visit combines the free The Wing (Lower), G/F section of Live: Hong Kong Art Exhibition with the 3/F public harbour windows. The museum’s current hours are 10 a.m.–6 p.m. on Monday–Wednesday and Friday, and 10 a.m.–9 p.m. on weekends and public holidays. It closes on Thursdays except public holidays, and on the first two days of Chinese New Year. Hong Kong floor labels count G/F, then 1/F, 2/F, 3/F.
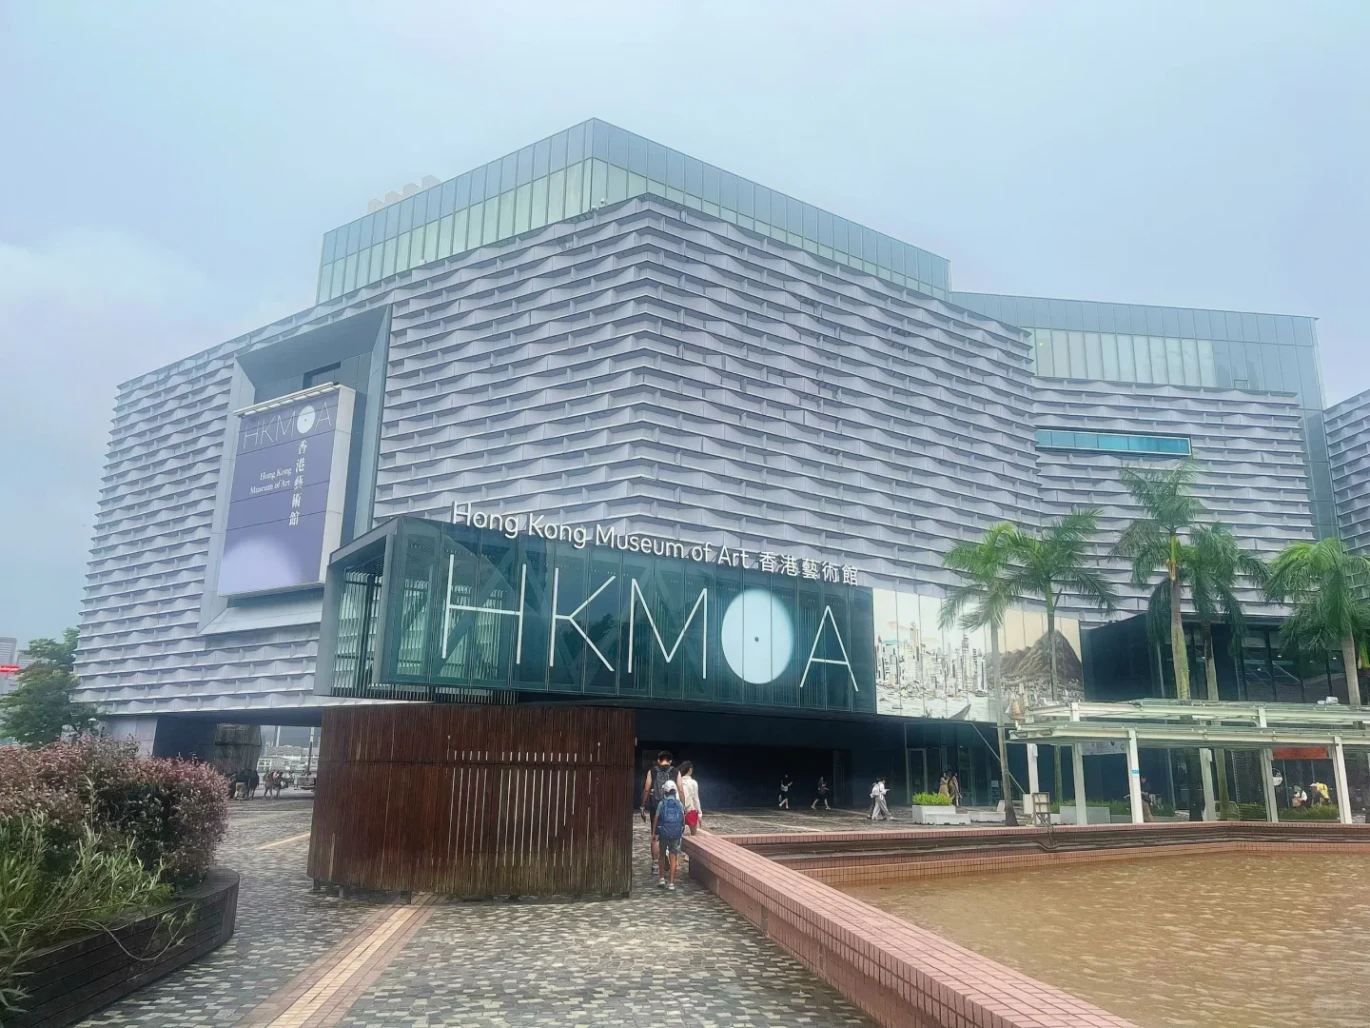
Match HKMoA and 香港藝術館 on the glass frontage
The large letters HKMoA and the museum name on the stepped glass frontage identify the building. This is the art museum on the Tsim Sha Tsui waterfront. The nearby Space Museum is a separate building. The first stop is the museum’s ground-floor annex gallery, shown as 4 on the operator plan below.
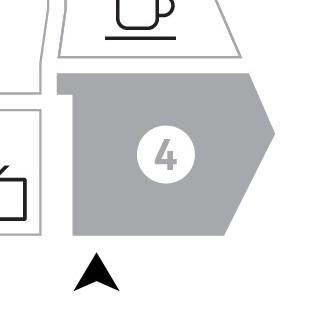
Find The Wing Lower’s own ground-floor entrance
On the G/F plan, 4 at the right is The Wing (Lower). The black arrow immediately beneath 4 marks its street-level entrance. Use that annex entrance for the ground-floor exhibition section. The other arrows beneath the wider central space lead into the main foyer.
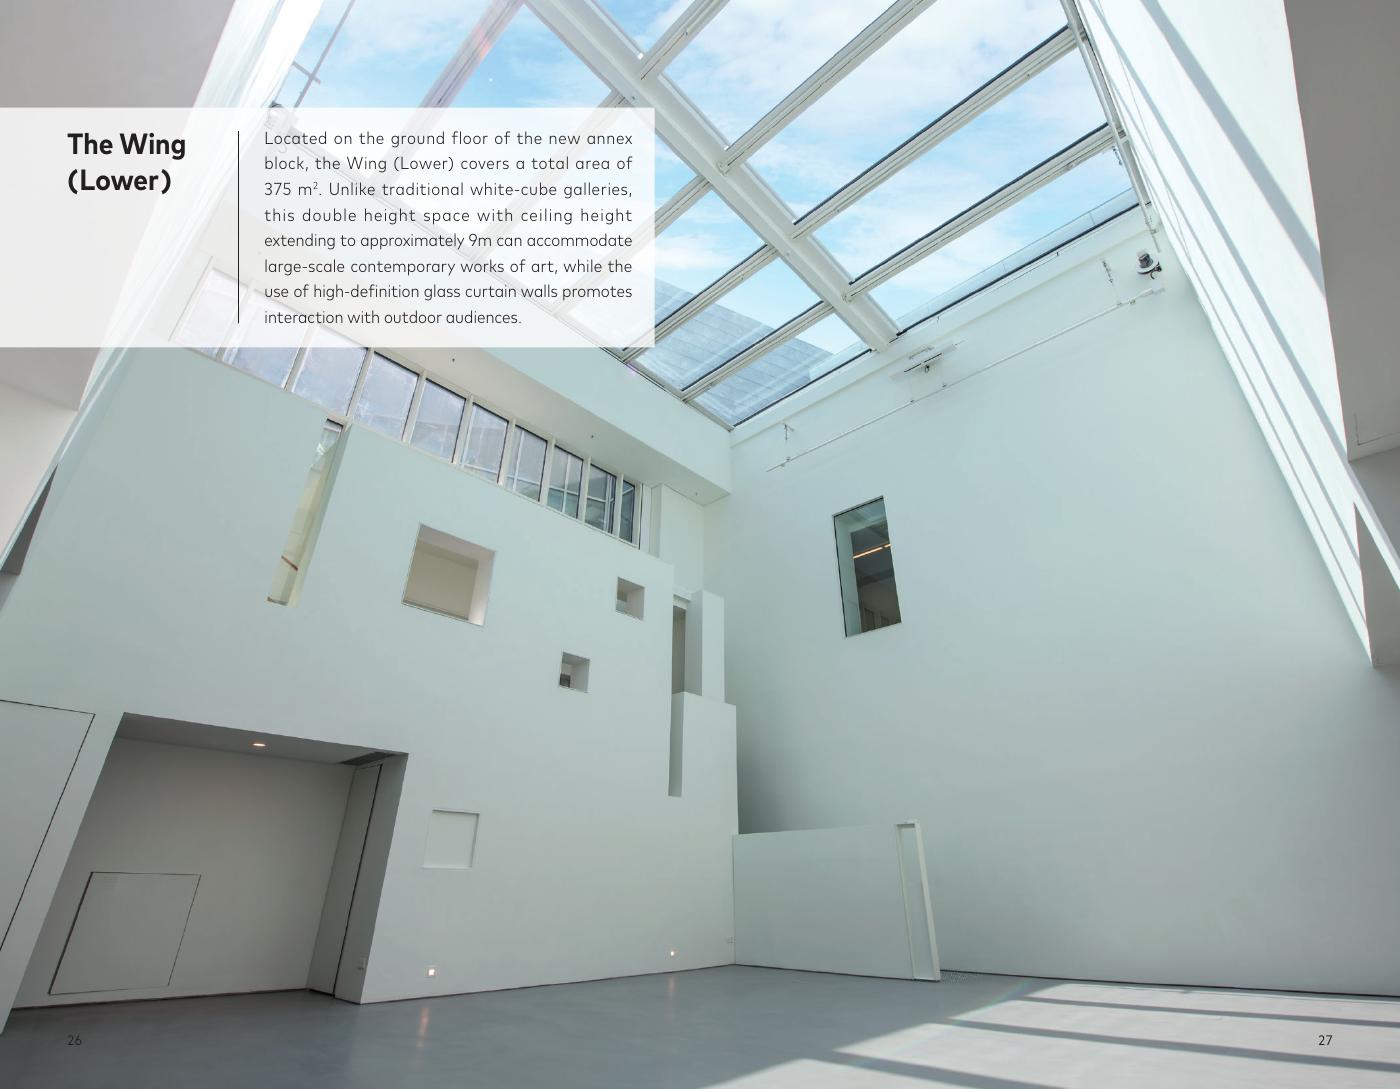
Recognize the tall annex gallery and the current free exhibition
The operator’s photograph shows The Wing (Lower): a tall white gallery beneath a glazed roof, with small openings high on its inner wall. It is an architectural reference from the museum’s booklet, taken before the current display. The current exhibition page lists the Live miniature-studio display here as free; display furniture and artworks will therefore differ from the empty-room photograph.
Return to the frontage and enter the central foyer
After The Wing visit, return through its entrance to the frontage. Along the same frontage, use a central foyer entrance, shown by the two black arrows below the wide unshaded room in this G/F plan. The upstairs route starts in that central foyer.
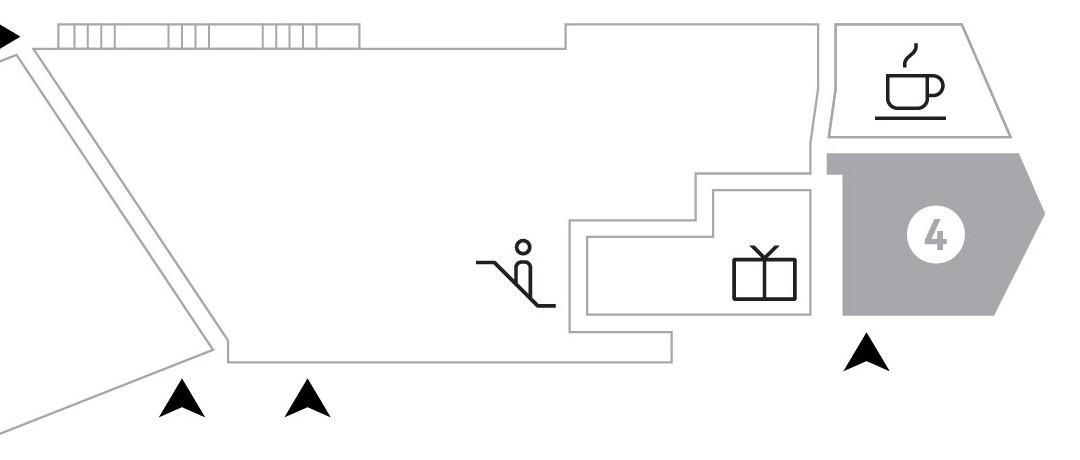
Use the foyer escalator beside the shop end
In the G/F plan, the escalator symbol beside the shop symbol locates the way to 1/F. From the central foyer, continue toward that end and use the upward escalator. The view back down from its first landing is shown in the next photograph.
At 1/F, recognize the view back into the foyer
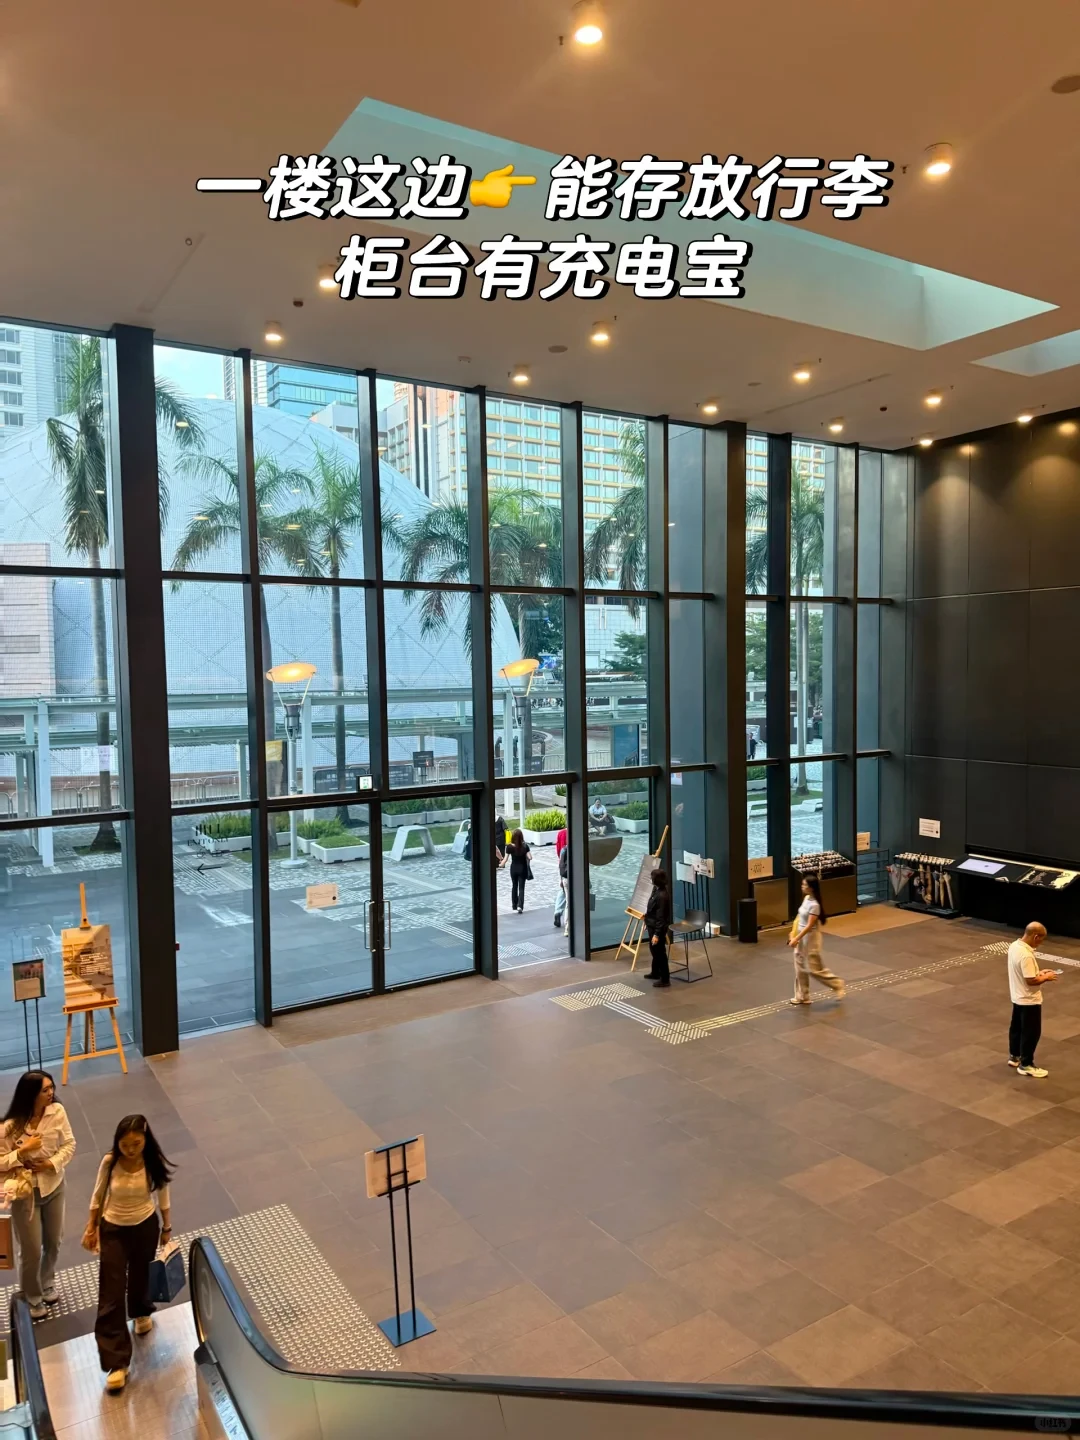
From the first landing, the large glass entrance wall and ground-floor foyer are below you. This actual photograph is a view back down from above; it is not a picture taken while standing at the street entrance. Continue on 1/F using the next floor plan.
Cross The Hall to the next upward escalator
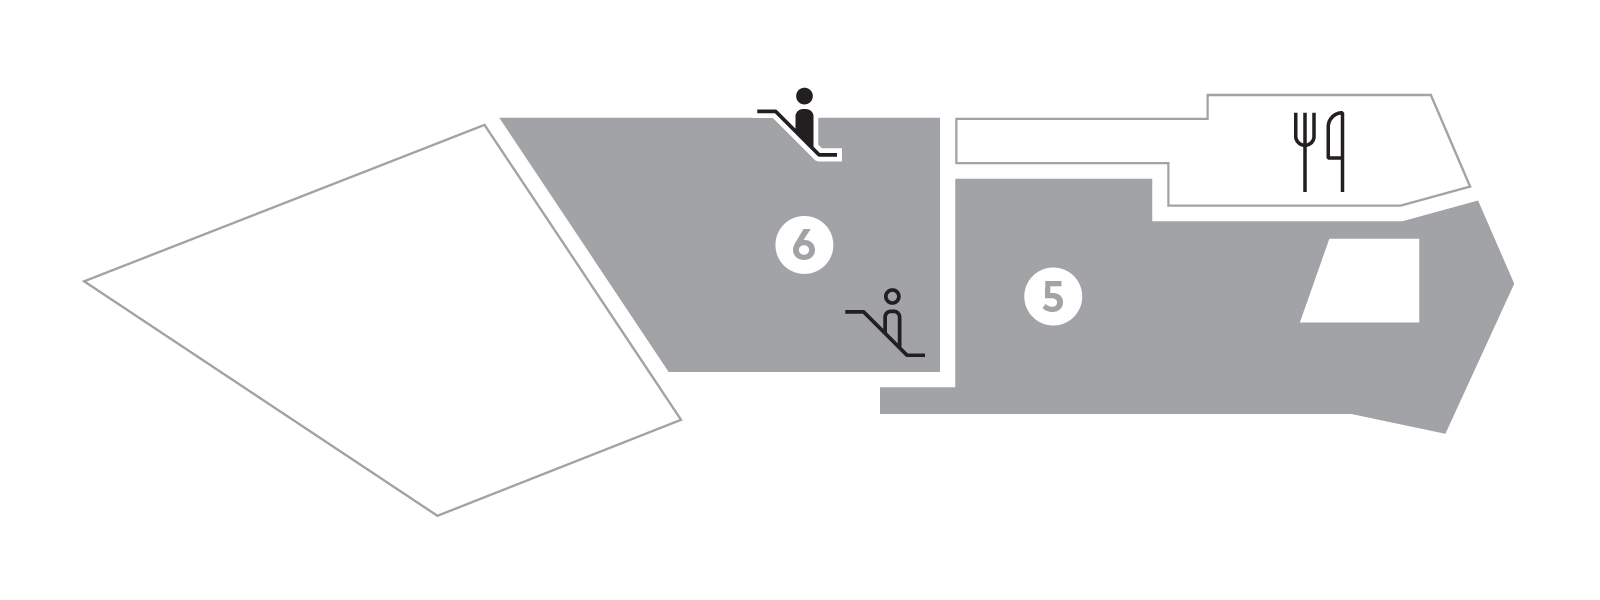
On the 1/F plan, 6 is The Hall. Two escalator positions are shown: one beside The Wing side, the other at the opposite end of The Hall. Cross the hall’s public circulation space to the other upward escalator for 2/F.
Continue from 2/F to the next public landing
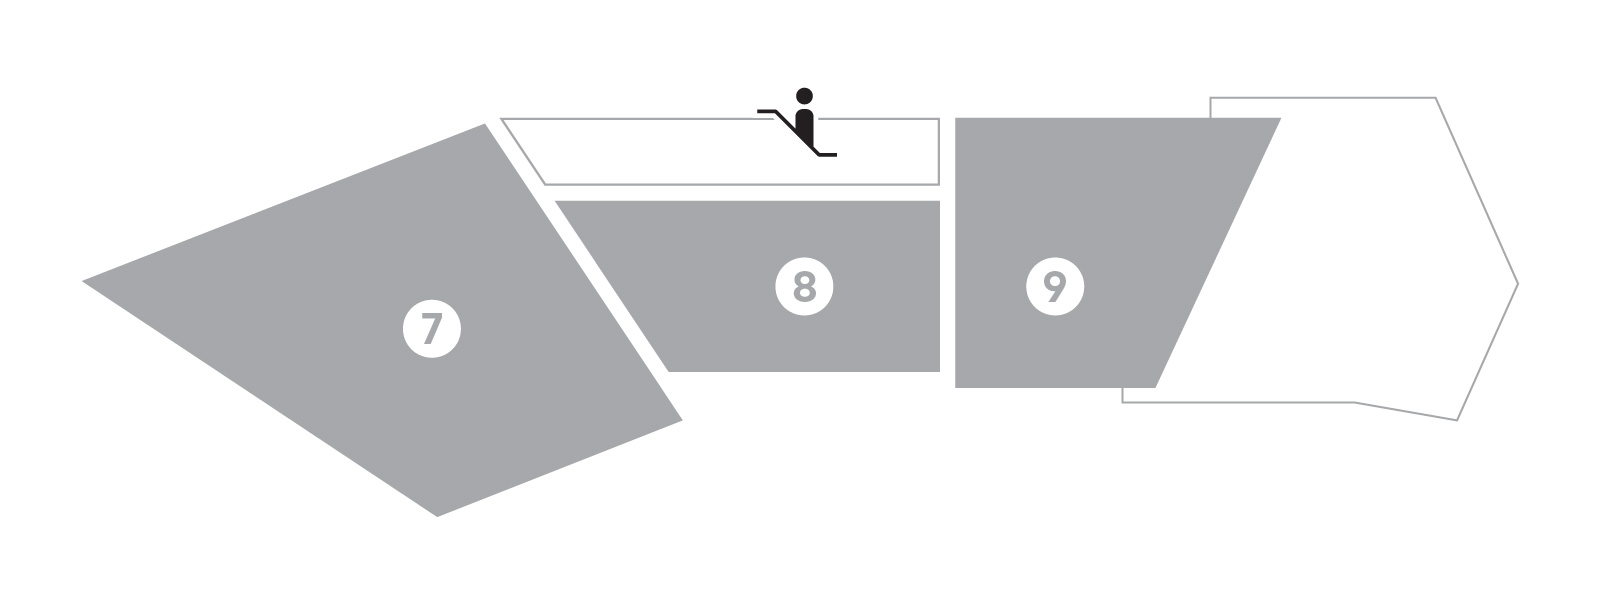
On 2/F, the operator plan shows galleries 7, 8 and 9, with the escalator connection in the public circulation strip. Use the next upward escalator to 3/F. This route continues to the public window landing; it does not enter a separately ticketed special exhibition.
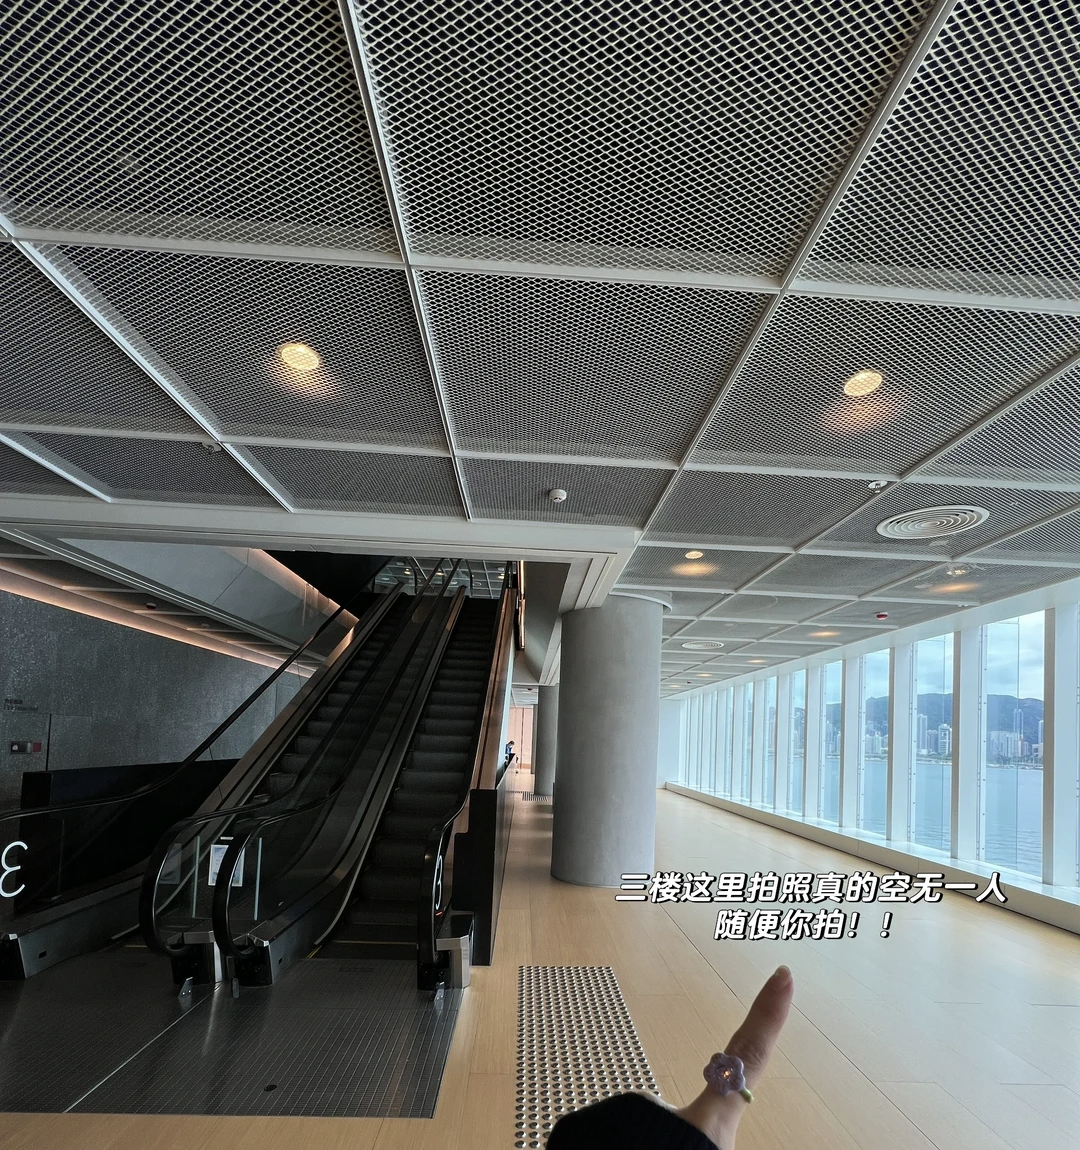
Confirm the large 3 beside the escalator and turn to the windows
At the next landing, the large 3 on the dark wall confirms 3/F. In this actual photograph, the escalator bank is on the left and the harbour-window corridor is immediately on the right, beside the round column. Turn into that window corridor. The photographer’s Chinese overlay identifies this as the third floor; the quiet scene is that visit’s crowd level, not a promise.
Finish beside the 3/F public harbour windows
The tall glazed bays look across Victoria Harbour toward Hong Kong Island. The actual 3/F photograph below shows the same dark grid ceiling and waterfront outlook. Reaching this public window corridor completes the visit. Haze, light and seating availability vary; the window wall and the opposite skyline identify the place.
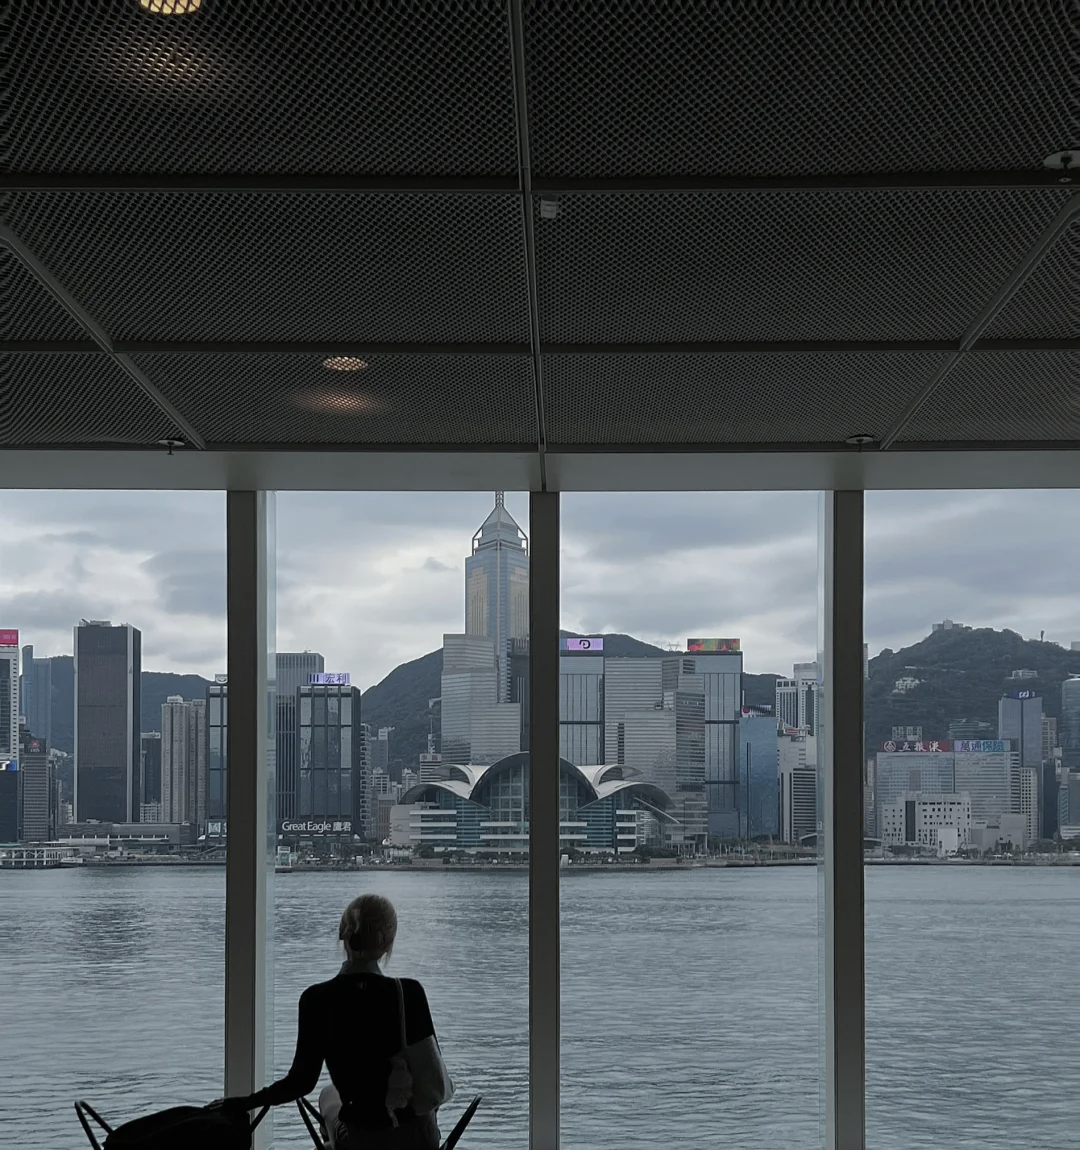
The visit is complete at the numbered 3/F landing and adjoining harbour windows. The art stop described here is the free G/F Wing section of Live. Older posts about the Monet garden exhibition are not the current exhibition reference for this visit.
Questions and updates
Comments may be reviewed before they appear.
Your comment and chosen name may be published. We store your IP address and browser details to help moderate comments.